Did you know that 85% of UPS and power system failures are due to battery failures or the improper management of them?1
Here are the five primary purposes that proper lead acid battery maintenance serves:
- Prolongs the life of the battery
- Ensures satisfaction of design requirements
- Determines potential failure and predicts need for replacement
- Ensures the battery is in a safe operating condition
- Provides for peace of mind
Furthermore, primary IEEE and NERC standards for battery maintenance require some form of visual inspection, with the IEEE 1188 for VRLA batteries and the IEEE 450 for VLA batteries requiring visual inspection on a monthly basis.
Here is a 15-step process to begin every lead-acid battery maintenance process with an important and effective visual battery inspection.

- Inspect labeling
Check that battery model and cell/unit manufacturing data code are visible and cell numbering is adequate and correct.

2. Look for dust, corrosion, water or electrolyte
Ensure top cover of battery is clean, without any accumulation of dust or material that might cause short circuits.

3. Check posts and seals
Examine connection points for distortion, growth, cracking, heating or electrolyte seepage.

4. Inspect inter-cell connections
Check for signs of corrosion, discoloration, looseness or over-tightening.

5. Check covers for cracking
Cracks around positive post might indicate positive plate growth, but cracking around both posts could indicate defective cover material.

6. Look for post discoloration
Examine battery posts for signs of discoloration which would indicate a post seal failure or a loose connection.
7. Check containers
Look for signs of crazing, cracking, leakage, swelling or damage in general – even on the bottom.
Steps 8 through 15 apply to VLA batteries only.

8. Inspect electrolyte levels
Check that the level is above “low” and below “high” marks and the liquid is clear with some minor bubbling.
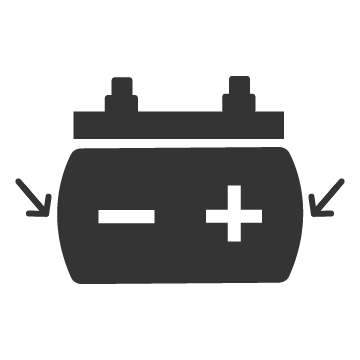
9. Examine plates for excessive plate growth
With VLA lead-calcium batteries, some growth is natural; however, it should be gradual over time.

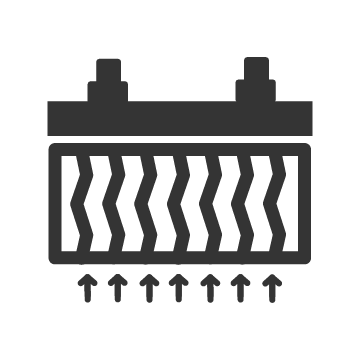
10. Look for sulfation
Presence of bright lead sulfate crystals on the negative plates indicates battery has or is being undercharged.

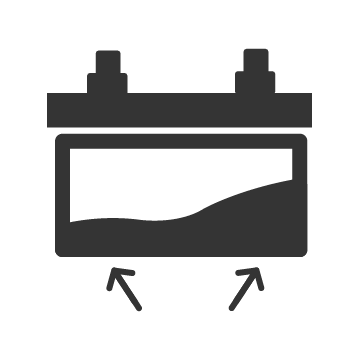
11. Look for hydration
Milky white discoloration on the translucent container indicates lead hydrate, showing the battery has not been recharged after a discharge.
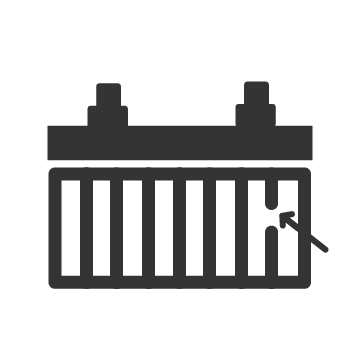
12. Check for separator tears
This could indicate a potential problem such as a short circuit cell.
13. Look for treeing
Identified by the formation of shiny sponge lead, this is a term for the growth of dendrites in the plate sediment.
14. Examine for shed active material
Check the battery, particularly the bottom, for material which may eventually cause a short between plates.

15. Identify copper contamination
Pinkish discoloration on the negative strap and plates indicates copper, usually from the posts, has leeched into the battery, signaling the need for a replacement.
Preventative lead acid battery maintenance should always be viewed as a priority, addressed and executed by knowledgeable personnel with proper, training, safety tools and protective equipment.2
For any additional information about battery maintenance and visual batter inspections, please review our recent webinar on this topic.
[CTA BUTTON] HEAR WEBINAR
1Source. B-Tech, Inc.
2Source. IEEE Std 1188™-2005
