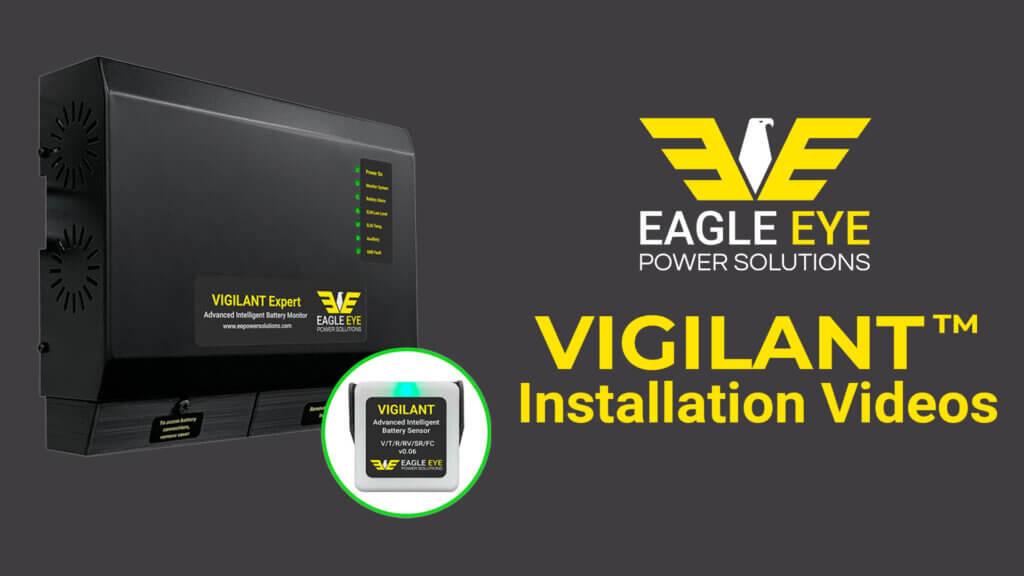
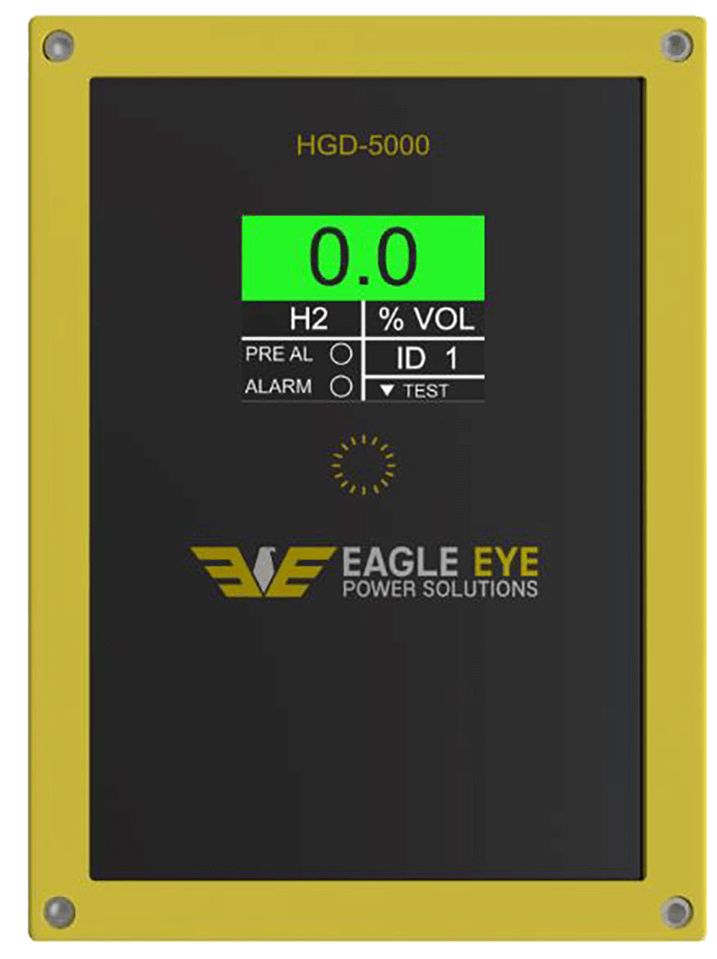
This outlines the steps for how to install the VIGILANT® battery monitoring system.
Installation Manual
Click the link below to view the complete installation manual.
1.0.0 Required Tools
Introduction to the essential tools required for the VIGILANT® installation, guiding viewers on what they need to complete an installation efficiently and correctly.
2.1.0 Review BOM
A review of the Bill of Materials (BOM), explaining its components and importance for a successful installation.
2.2.0 Unboxing
This video showcases the unboxing of equipment, detailing the items included in the package and providing an initial look at their functionality.
2.2.1 Connection Hardware Overview
The video provides an overview of the connection hardware components, detailing their roles in establishing precise and efficient data transfer.
2.2.2 VIGILANT® Monitor
An overview of the VIGILANT® Monitor, highlighting its features and capabilities for enhanced monitoring and data tracking.
2.2.3 VIGILANT® Sensor Overview
Overview of the VIGILANT® Sensor, describing its features and role in improving monitoring systems by providing accurate data readings.
2.2.4 ELM (Electrolyte Level Monitor) Sensor Overview
The video provides an overview of the ELM Sensor, explaining its functionality and how it contributes to efficient monitoring systems.
4.1.0 VIGILANT® Mounting Monitor
Mounting the VIGILANT® monitor, focusing on its setup process and how to securely install it for effective monitoring.
4.2.0 VIGILANT® Sensor Mounting
The video explains the proper method for mounting the Vigilant Sensor, guiding viewers through the steps to ensure secure and accurate installation.
4.3.0 ELM Sensor Mounting
This video explains the installation process for ELM sensors, including tools needed, proper mounting techniques, and cleaning procedures.
4.4.0 Installing Square Post Hardware
The installation process for hardware on square post battery terminals for wire harness connections to the VIGILANT® sensor is explained, with a focus on proper wiring and torque specifications.
5.0.0 Recap
At this point we have properly mounted the VIGILANT® monitor and sensor cradles, renumbered the cells, and added an extra sensor cradle for future use.
6.1.0 Install Positive Cable Clamp
This video shows how to safely install a positive cable clamp, emphasizing proper insulation removal, safety precautions, and securing connections.
6.2.1 Install Tab Harness
The video demonstrates the process of preparing and crimping wires in a cable harness, emphasizing careful stripping, crimping order, and ensuring a secure fit.
6.2.2 Route Cable Harness
The video demonstrates the process of preparing and crimping wires in a cable harness, emphasizing careful stripping, crimping order, and ensuring a secure fit.
6.2.2.1 Use Crimp Tool
Learn how to properly use an IDC crimp gun, ensuring correct wire placement and adjustments for optimal crimping results.
6.2.3 Special Terminal Harness
Finalizing wiring for battery cells involves connecting a special harness and routing it to the last sensor, ensuring all wires are secure.
6.3.0 Install Negative Cable Clamp
The video details the installation of a negative cable clamp, emphasizing proper wire management and connection techniques.
6.4.0 ELM Cables
Installing ELM ribbon cables to sensors involves squeezing connectors to detach, daisy-chaining sensors, and sealing for protection.
7.1.1 RJ12 Cables
This video explains the RJ Communications Loop for the vigilance system, detailing installation and cable setup for 6VT units to minimize voltage drop.
7.2.0 Power Cables
The video tutorial covers the installation and connection of power cables to terminal blocks for a monitor, emphasizing proper wiring and voltage checks.
8.0.0 Test Wiring Ohmic
Before commissioning, check wire resistance to ensure good connections and identify any issues using ohmic measurements.
9.0.0 Ready for Commissioning
Ensure proper installation and readiness for commissioning by checking connections and voltage without powering on the monitor.


